
Bird Protection Solar Installation: A Practical Guide for Installers
- Mar 11
- 4 min read
Updated: Mar 28
bird protection solar installation — Adding bird protection to a rooftop PV installation is a straightforward task when it is planned as part of the original commissioning workflow. When it is added as a retrofit — often in response to an established infestation — it becomes a more complex site operation involving working at height on an occupied roof, often around existing cables and mounting hardware that were not designed with access in mind. This article covers the practical installation considerations for solar and roof installers, with a focus on working safely, protecting roof integrity, and achieving a complete and durable result.
Bird Protection Solar Installation: Working at Height: The Safety Baseline
Installing bird protection mesh on a rooftop PV system is classed as work at height under European workplace safety regulations (EU Directive 2001/45/EC and national implementing legislation). The same safe working requirements that apply to the initial PV installation apply to the bird protection task:
• Risk assessment — Assess the roof access, surface condition, edge proximity, and any overhead or environmental hazards before starting work
• Appropriate fall protection — Edge restraint systems, fall arrest harnesses, or toe boards as required by the specific roof configuration and access method
• Stable working platform — Use roof ladders or appropriate rooftop access equipment to avoid stepping on modules or unprotected roof surfaces
• Buddy system — Where possible, two-person working improves both safety and efficiency for tasks involving physical manipulation of mesh around a panel perimeter
These requirements are not specific to bird protection — they are standard working-at-height practice. Installers with established safe working procedures for PV commissioning will apply the same approach to the bird protection installation.
Protecting Roof Integrity During Installation
One of the most important considerations when installing any accessory on a rooftop PV system is the waterproofing integrity of the roof beneath. Drilling through roof tiles, membranes, or surface coatings to mount accessories creates penetration points that require sealing and introduce a long-term leak risk if not properly managed.
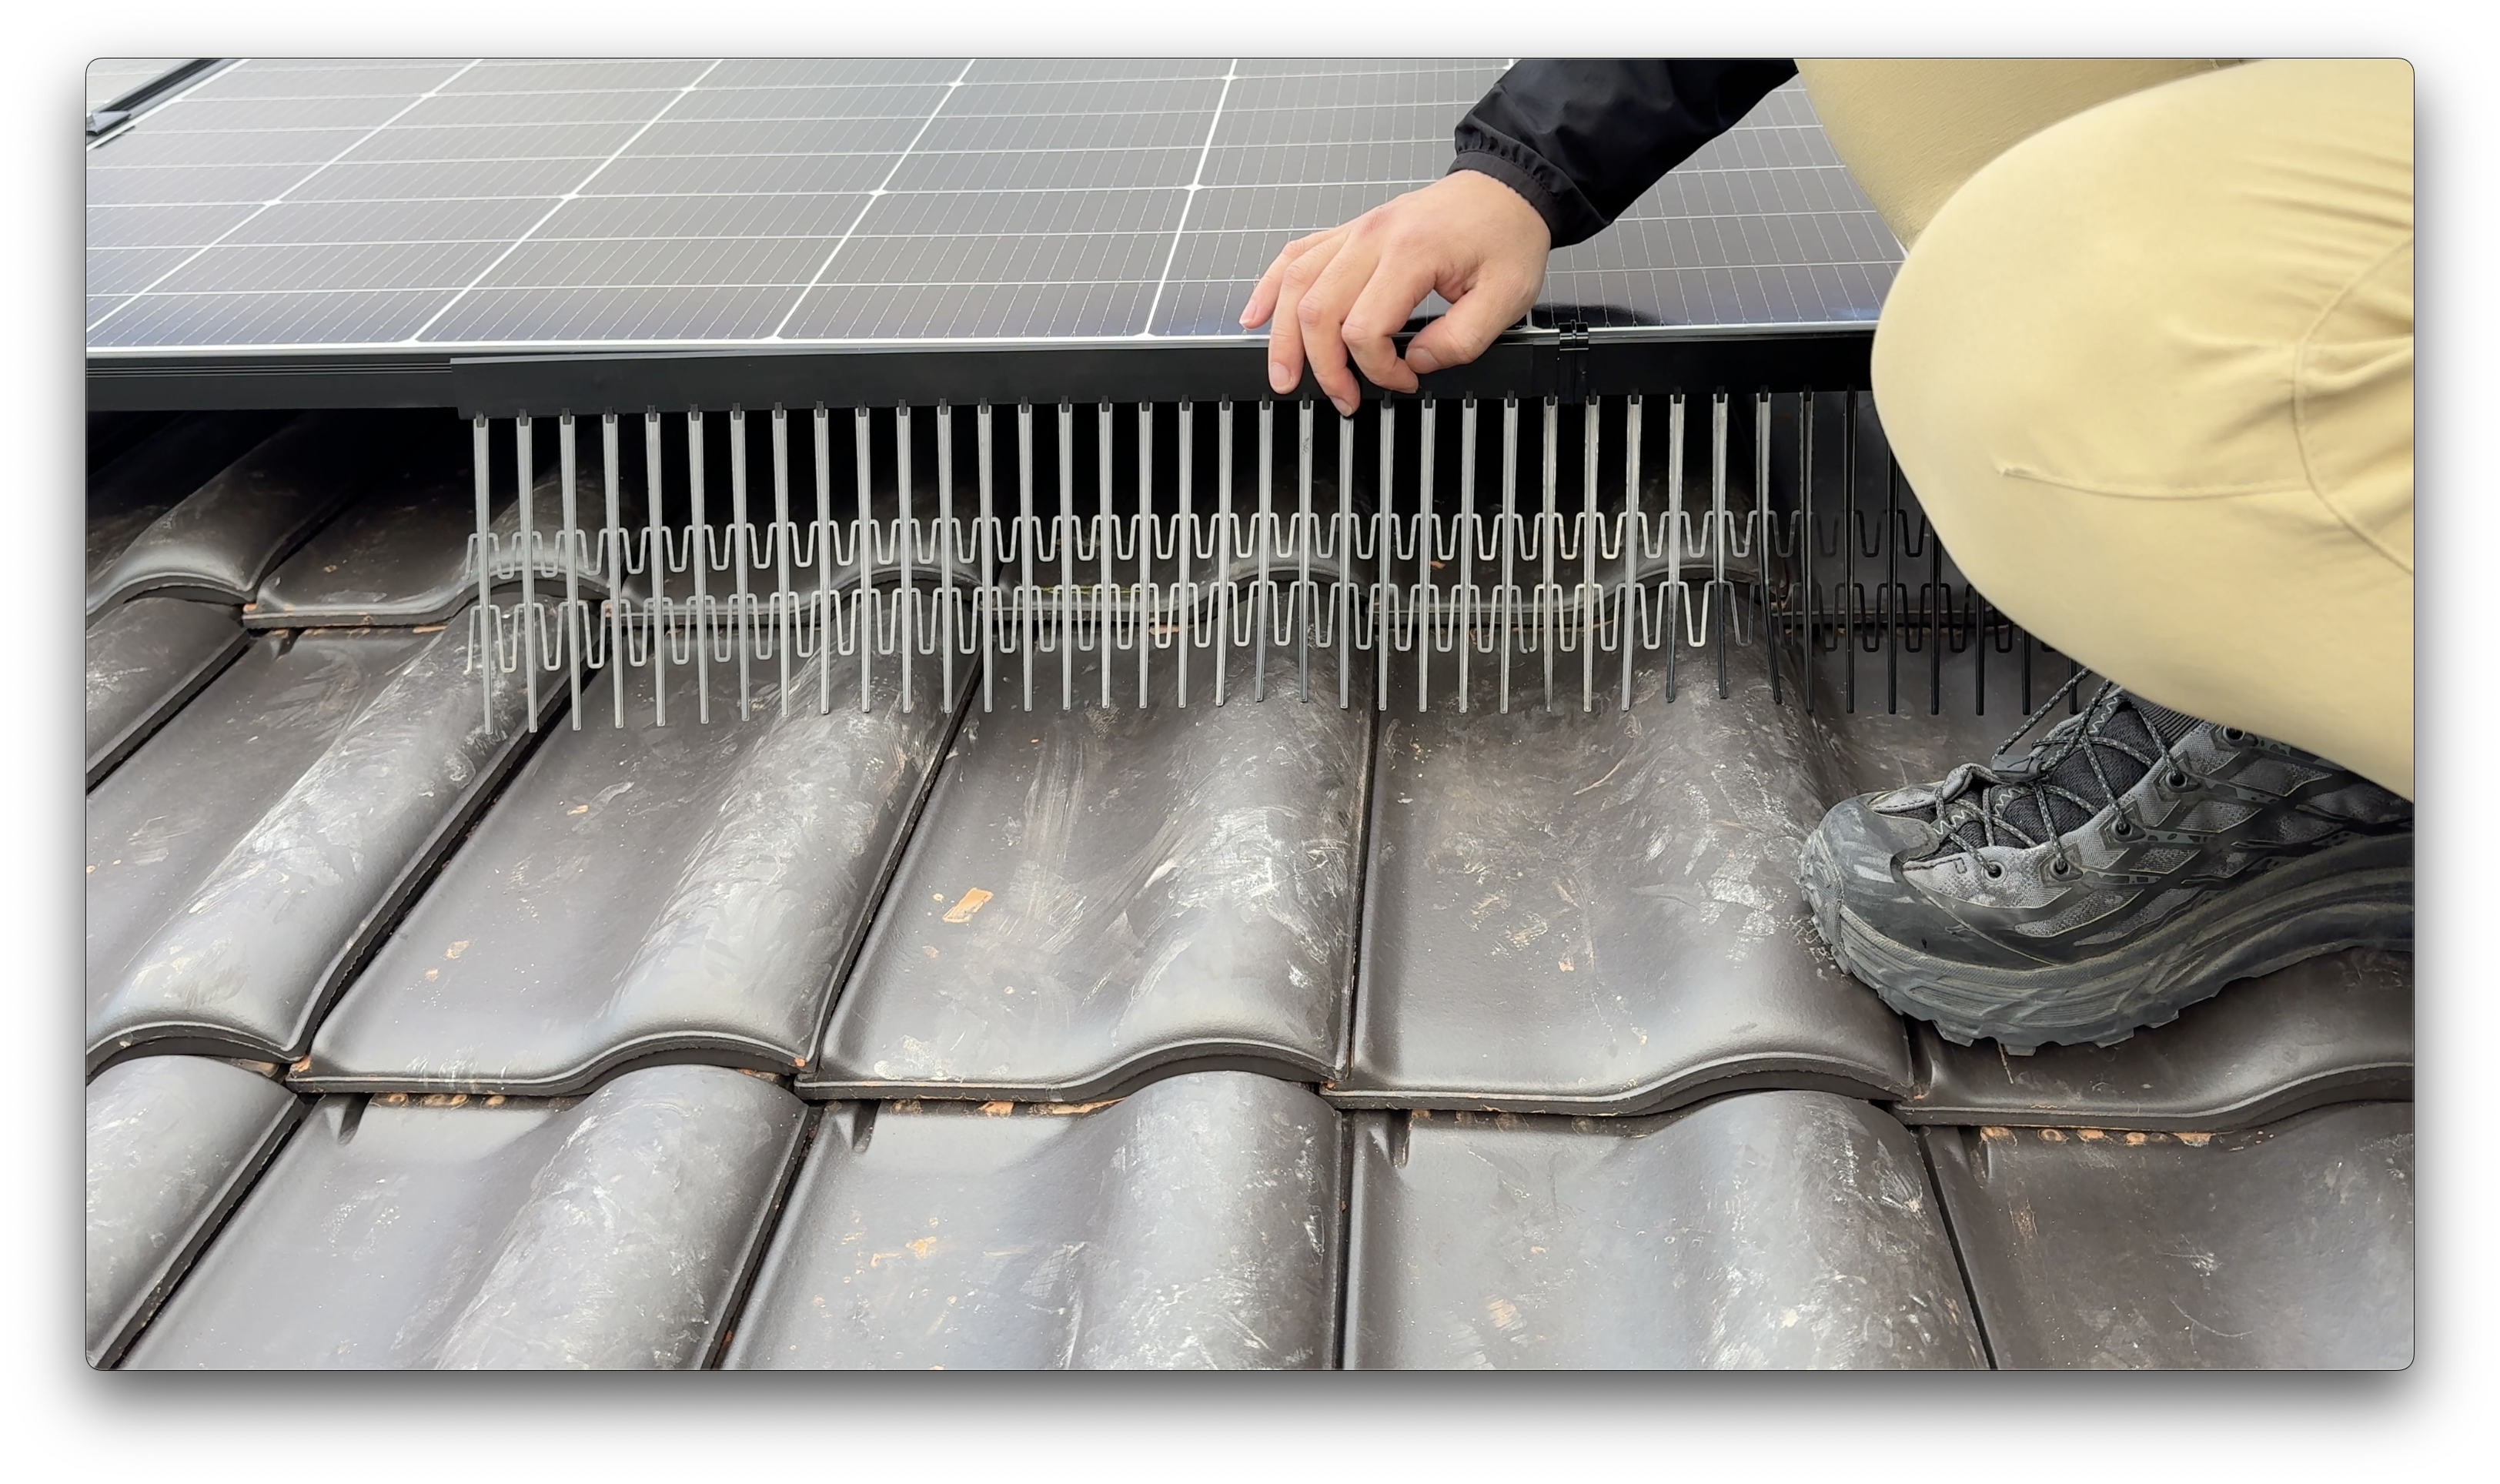
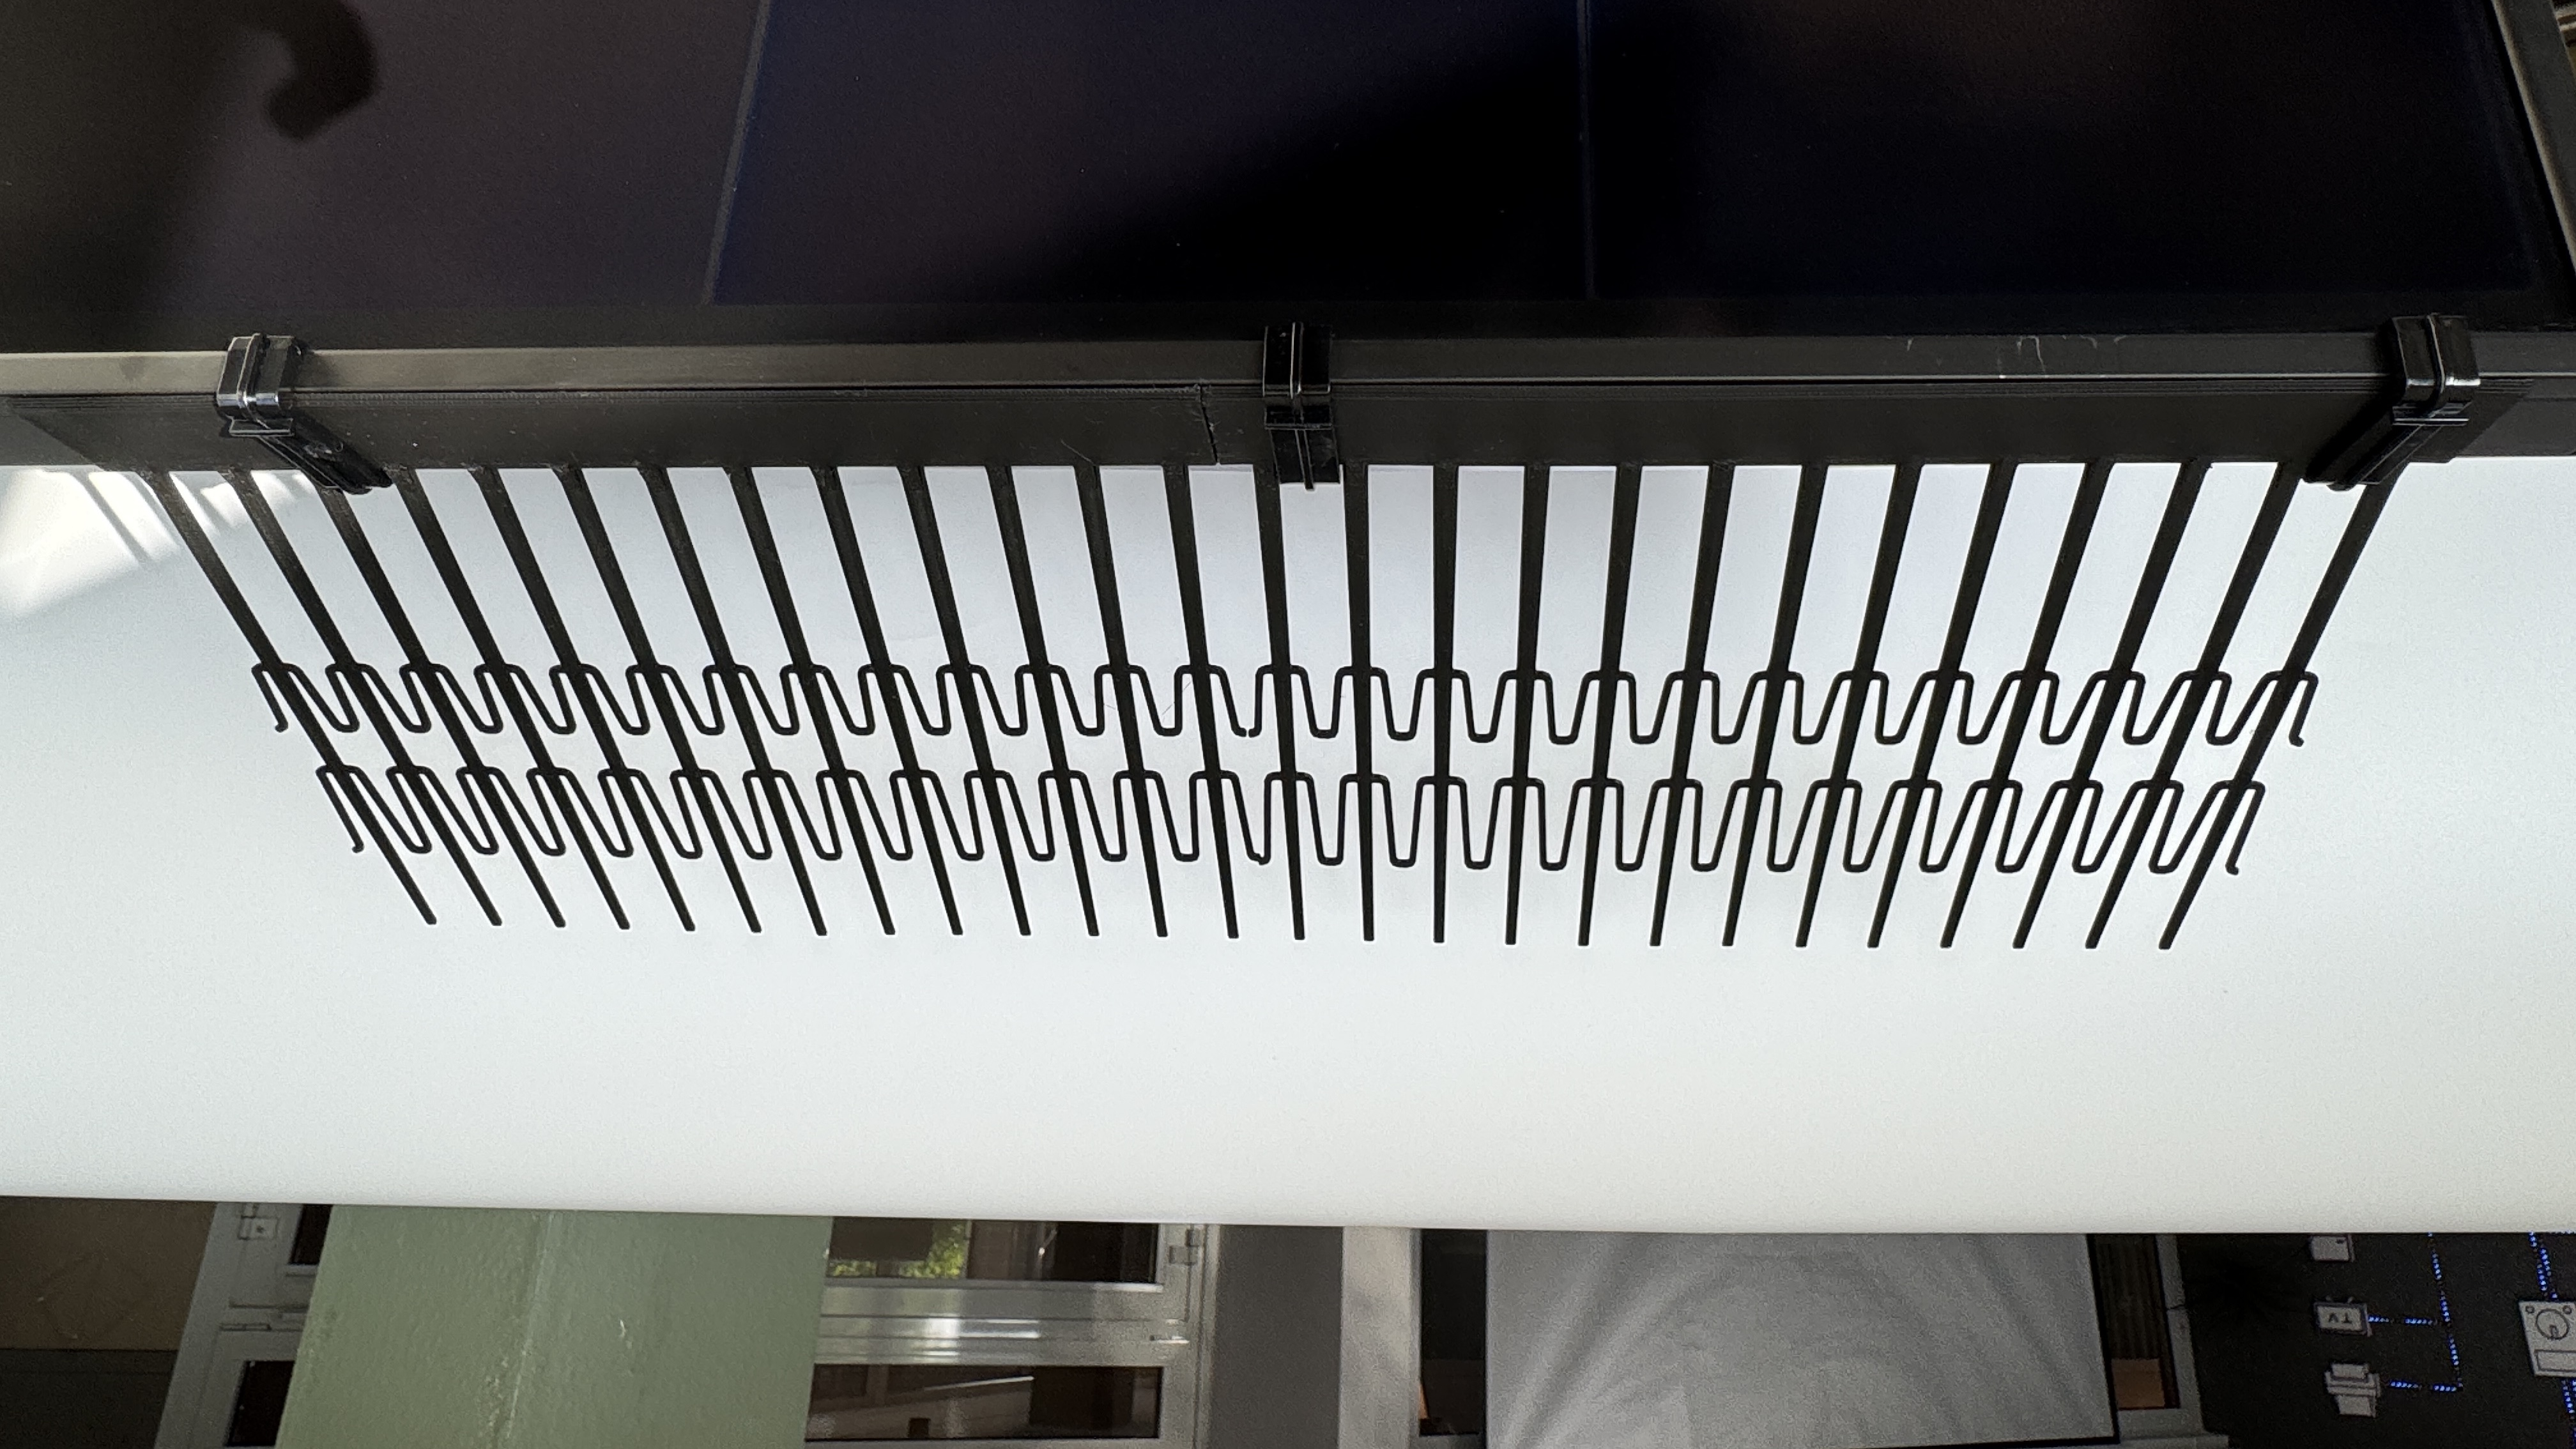
Clip-based bird protection systems — including PV Protector® — are specifically designed to eliminate this concern. The mounting clips attach directly to the aluminium frame of the solar module, with no contact with the roof surface itself. There is no drilling, no penetration of the roof structure, and no requirement to apply sealant or waterproof membranes around fixings.
This has practical importance beyond the immediate installation:
• No warranty implications for the roof — Installers working on properties with existing roof warranties (particularly new-build properties or recently re-roofed buildings) do not introduce any penetration that could affect those warranties
• No requirement for separate roofing work — The installation is entirely within the scope of a solar installer, with no need to involve a roofer for any complementary work
• Reversible installation — If a module needs to be removed for inspection, repair, or replacement, the bird protection clips can be released without damage to the panel frame or roof surface
Installation Sequence: New Build vs. Retrofit
New Build (Commissioning Stage)
When bird protection is included in the initial installation scope, the optimal installation sequence is:
1. Complete PV array installation per the project specification (panels, mounting, cabling, inverter commissioning)
2. Once all modules are positioned and cabling is complete beneath the array, measure the perimeter sections to be protected
3. Attach C-clips to the panel frames at regular intervals around the perimeter
4. Insert PV Protector® mesh segments into the clip system, working around the perimeter
5. Secure joints and corners with cable ties
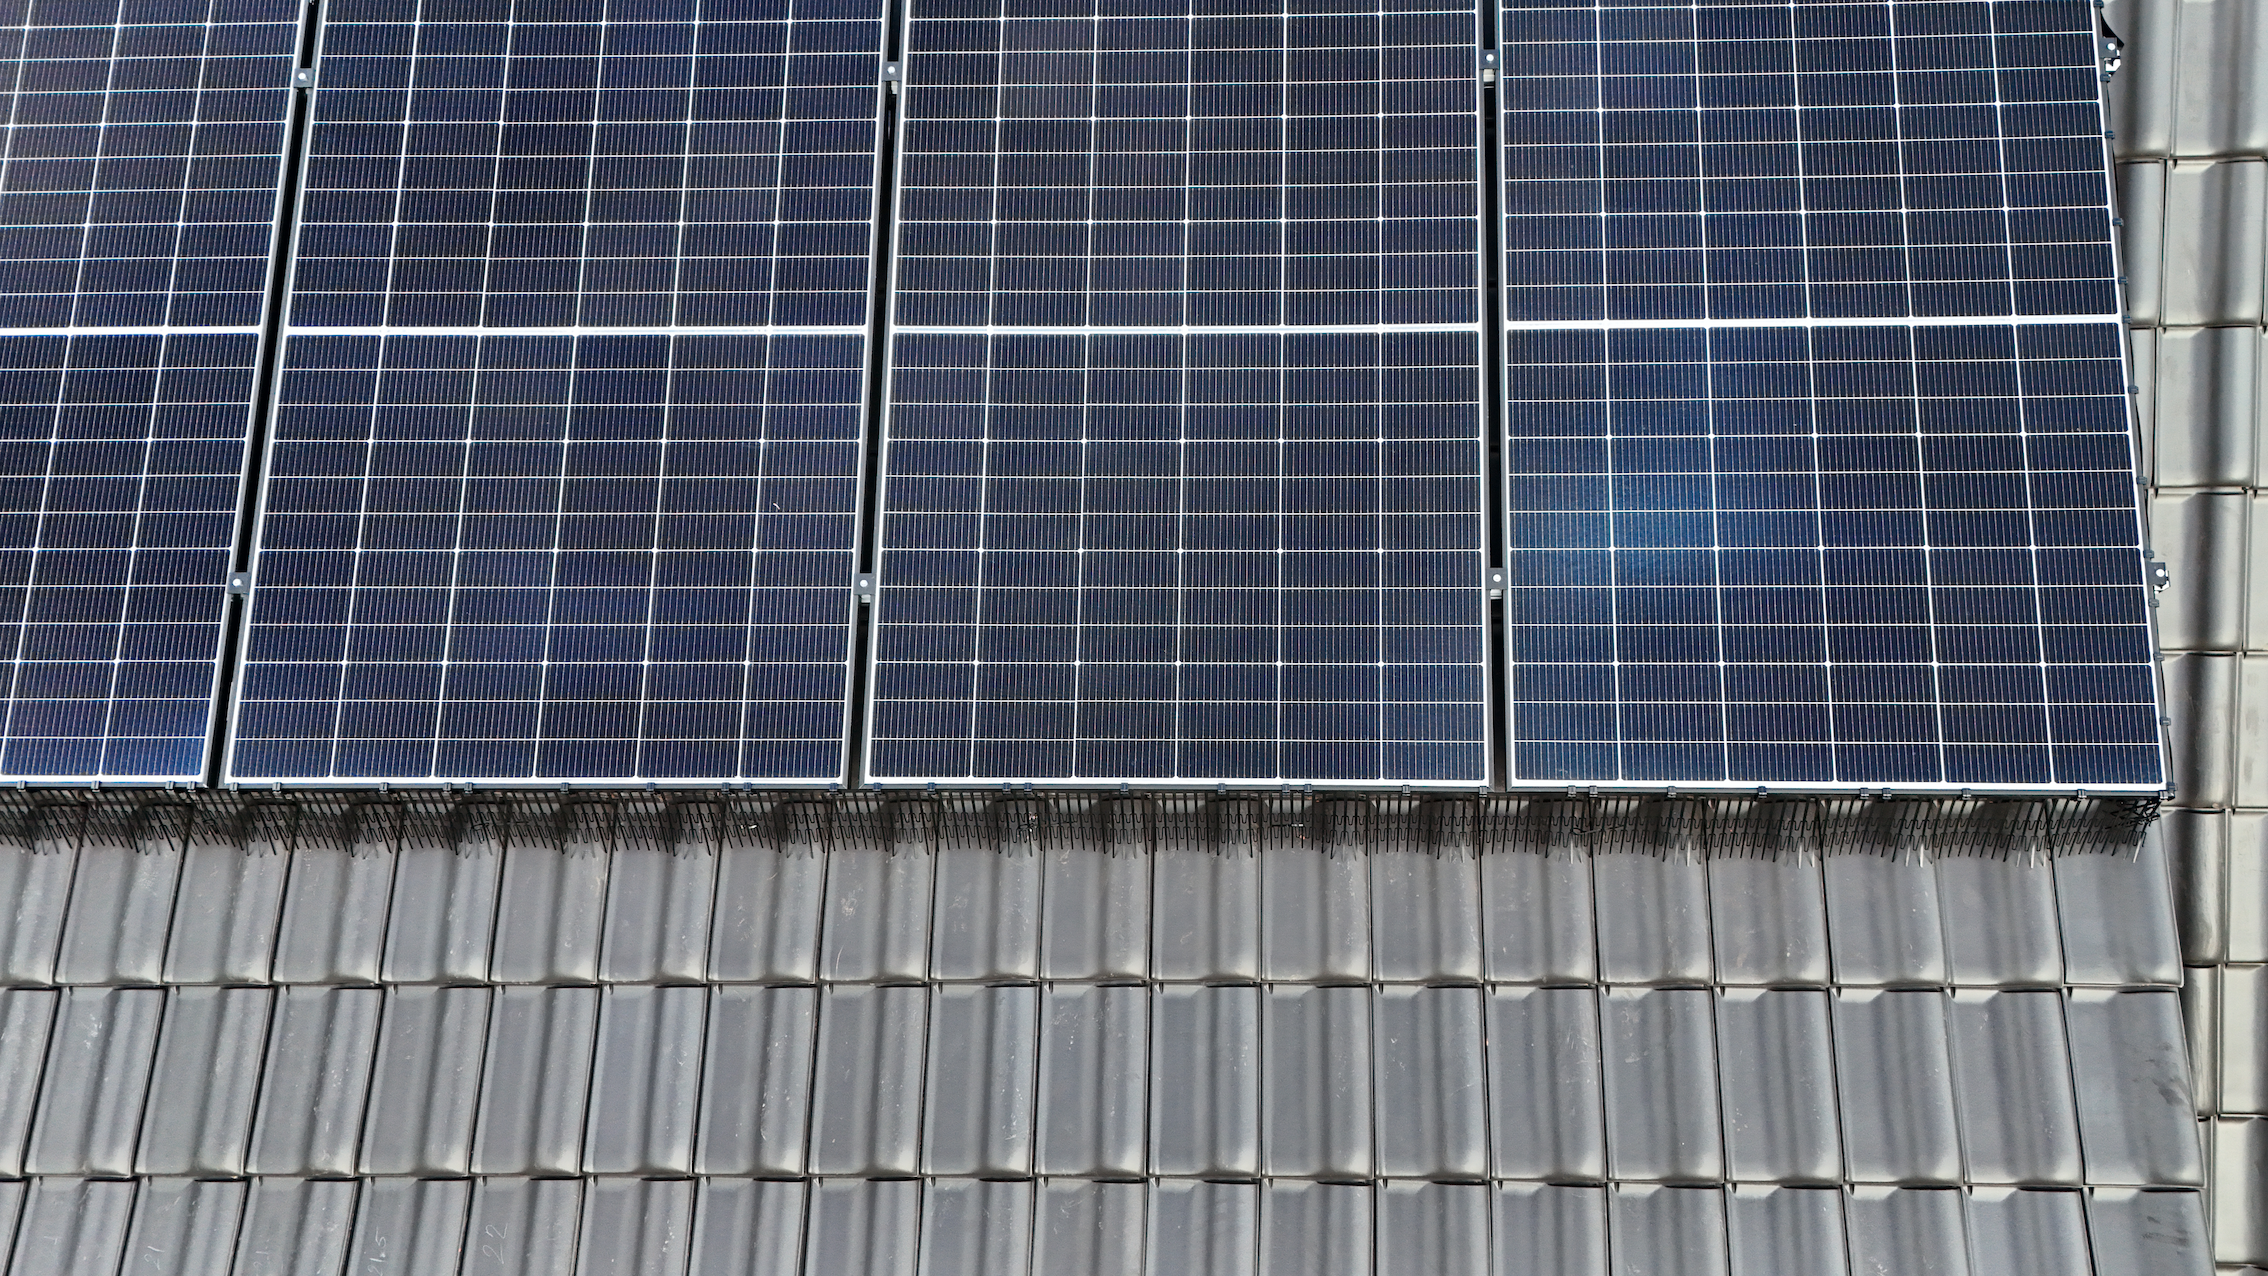
6. Conduct a perimeter inspection from ground level and from the roof to confirm there are no gaps in the barrier
7. Document the completed installation with photographs as part of the commissioning record
Installing at commissioning stage is faster and requires fewer adjustments than a retrofit, as there is no existing nesting material or debris to work around, and full access to the module undersides is available before any obstruction develops.
Retrofit (Existing System with Bird Activity)
Retrofit installation is more complex and typically requires two separate site visits, or a single longer visit:
• Inspect the system for evidence of nesting (droppings, visible nesting material, sounds)
• Remove all nesting material from beneath the affected modules
• Inspect DC cable runs for abrasion or insulation damage
• Address any cable damage before reinstating the system
• With the area clear, install PV Protector® mesh around the module perimeter using C-clips
• Pay particular attention to corners and any gaps in the frame profile where birds have historically accessed the cavity
• Conduct a thorough perimeter inspection to confirm barrier completeness
Common Installation Points to Check
Regardless of new-build or retrofit context, the following points are the most common sources of installation quality issues:
Corner coverage — The corners of a PV array section are the most frequent entry point for birds, as the mesh must be cut and joined at 90° angles. Confirm that corner sections are fully closed with no accessible gap.
Frame profile variation — Different module manufacturers use different frame profiles. Check that the C-clips engage fully with the specific frame profile being used and that the mesh sits flush against the module underside at all points.
Cable management — Where DC cables exit the module junction box and run along the mounting rail or beneath the array, confirm that the cable runs are not creating a gap in the protective barrier. Route cables beneath the mesh where possible.
Mesh tension — Loose or sagging mesh sections can create accessible gaps over time. Confirm that mesh is held taut and that fixing points are secure.
Conclusion
Bird protection installation is a straightforward addition to the solar commissioning workflow when planned from the outset. The clip-based mounting method is installer-friendly, requires no specialist tools, and does not compromise roof integrity or module warranty. For retrofit applications, the additional step of nest removal and cable inspection adds complexity but remains within the capability of any experienced solar installation team operating with appropriate safe-working procedures.
For more information about PV Protector® bird protection systems, visit www.pv-protector.com or contact your local solar distributor.
Comments