Solar Panel Maintenance Checklist Template: A Professional Installer's Documentation System
- Apr 22
- 6 min read
Updated: Apr 24
Every solar installer knows the frustration: a callback three years after commissioning because the customer claims "the system never worked right." You ask for maintenance records. None exist. What was inspected? When? By whom?
A standardised solar panel maintenance checklist template solves this problem. It transforms ad hoc site visits into documented, defensible, repeatable service records — protecting your warranty claims, streamlining your O&M workflow, and building customer confidence.
This article presents a professional maintenance checklist framework designed for residential and small-commercial PV installers working on pitched-roof installations.
Why Solar Installers Need a Maintenance Checklist Template
Documentation isn't paperwork for its own sake. A proper solar panel maintenance checklist template delivers three operational benefits:

Warranty protection. Module manufacturers and system insurers increasingly require documented proof of regular maintenance. If a claim arises and you cannot demonstrate that the system was inspected per the recommended schedule, the warranty may be void. Your checklist is your evidence.
Callback reduction. A structured inspection process catches problems early — soiling patterns, loose cable ties, mesh displacement, micro-inverter faults — before they escalate into performance complaints or safety risks. According to IRENA's Operation and Maintenance Strategies report, systematic preventive maintenance reduces unplanned service calls by up to 40%.
Customer retention. Homeowners and facility managers trust installers who demonstrate professionalism through documentation. A checklist handed over at the end of an annual service visit signals competence and accountability — and increases the likelihood that they recommend your firm to others.
What to Include in a Solar Panel Maintenance Checklist Template
A useful template covers four inspection phases: pre-commissioning baseline, annual inspection, bird protection verification, and post-service sign-off.
1. Pre-Commissioning Baseline (First Use Only)
This section is completed once, immediately after installation. It establishes the reference state against which future inspections are compared.
- System details: array kWp, panel make/model, inverter serial, commissioning date - Initial performance: first-day AC output under known irradiance (record conditions) - Roof condition: photograph roof surface, flashing, penetrations, existing wear - Bird activity baseline: note visible nesting, droppings, or signs of bird presence - Protection installed: confirm perimeter bird protection installed (mesh type, clip engagement, cable-tie count)
2. Annual Inspection Checklist
This is the core maintenance log, repeated every 12 months (or more frequently in high-soiling environments).
Panel inspection:
- Visual check for cracks, delamination, or discolouration - Frame condition: corrosion, loose mounting brackets - Soiling level: light / moderate / heavy (quantify if using irradiance meter) - Evidence of bird droppings, nesting material, or debris accumulation
Electrical inspection:
- String voltage (open circuit VOC, operating VMP) - Inverter error logs - DC cable condition: abrasion, UV damage, rodent or bird chewing - Cable routing: confirm cables remain secured, not rubbing frame edges - Connector condition: MC4 locking engagement, no moisture ingress
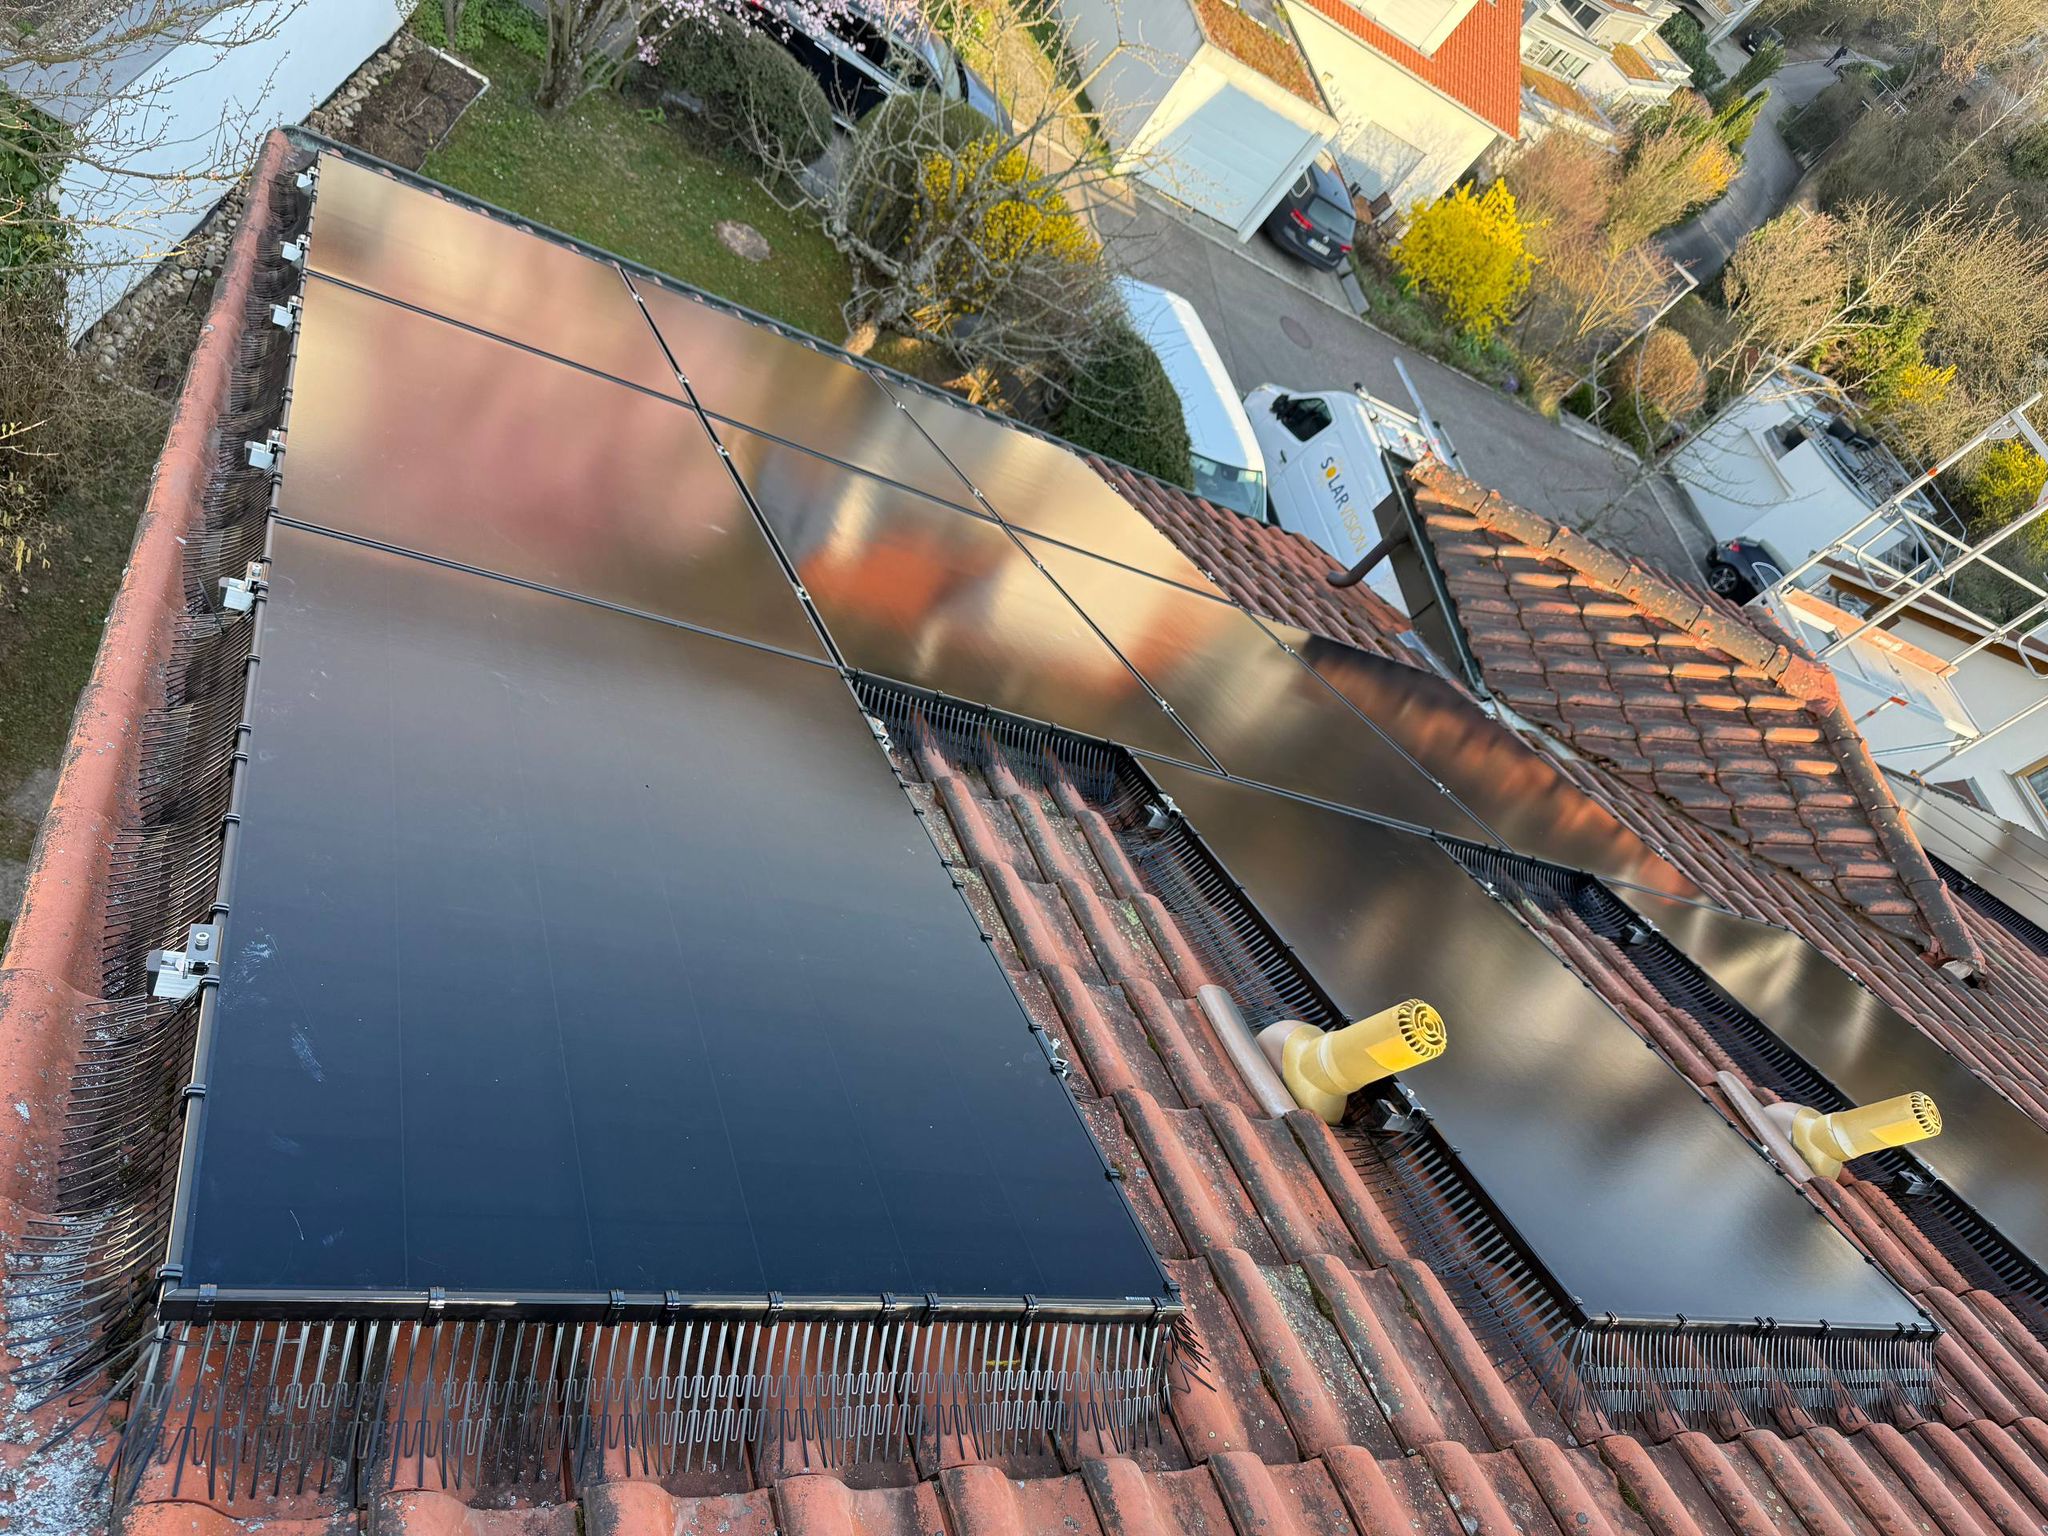
Bird protection inspection (if installed):
- Perimeter mesh continuity: no gaps, lifted segments, or detached sections - C-Clip engagement: visually verify clips remain seated on frame (30 / 35 / 40 mm variants as installed) - Cable-tie condition: UV degradation, brittleness, breakage - Evidence of nesting under or around protection system - Mesh drainage: droppings, leaves, or debris blocking airflow
Performance verification:
- Compare current AC output to commissioning baseline (adjusted for irradiance, temperature, system age) - Note any unexplained performance deviation >5% year-on-year
Safety checks:
- Roof access equipment condition (if provided by installer) - Fire safety clearances maintained - No unauthorised modifications to system
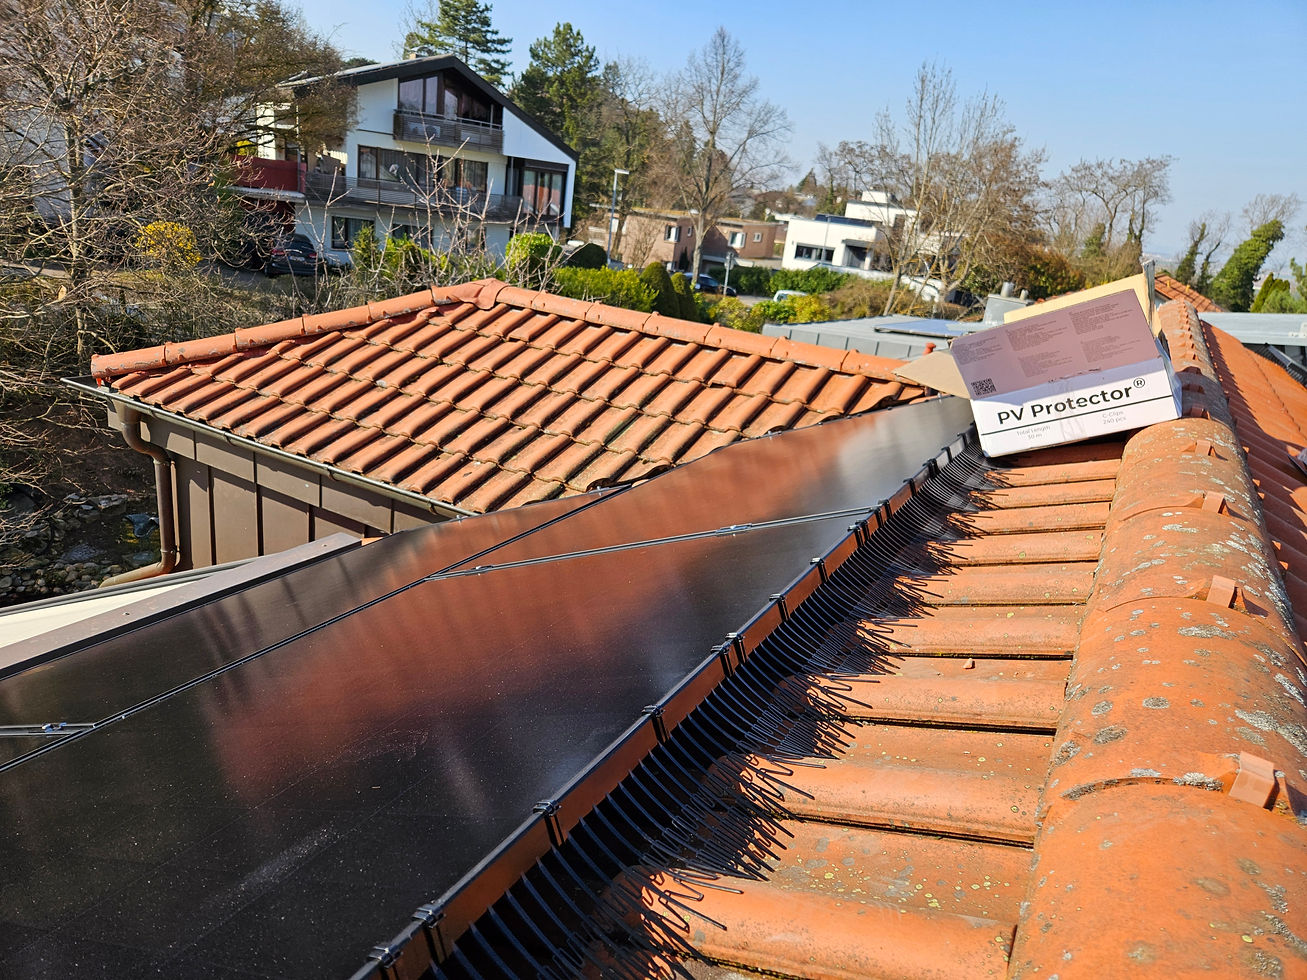
3. Bird Protection Retrofit / Replacement Log
If bird protection was not installed at commissioning but is added later (common on systems experiencing callbacks), document:
- Date of retrofit installation - Product installed: PV Protector® or other system (specify) - Linear metres of mesh installed - Before / after photographs of array perimeter - Customer education: explain importance of maintaining protection
If replacing damaged or degraded bird protection:
- Reason for replacement (UV failure, mechanical damage, incorrect initial specification) - Condition of removed mesh (photograph if warranty claim required) - Replacement product details
4. Post-Service Sign-Off
Every completed inspection should conclude with:
- Inspector name and signature - Date of inspection - Findings summary: "No issues found" / "Minor maintenance performed" / "Attention required — see notes" - Recommended follow-up actions (if any) - Next scheduled inspection date - Customer signature (acknowledgement of service performed)
How to Use the Template in the Field
A checklist is only useful if it's practical on a rooftop. Follow these field-use principles:
Print or use a tablet. Paper works in all weather and never runs out of battery. If using digital forms, ensure offline mode — many rooftops lack mobile signal.
Photograph everything. Images are faster than written descriptions and provide visual proof for warranty claims. Tag photos with system ID and date.
Pre-fill system details. Maintain a master list of your active O&M contracts with system specs. Pre-populate templates before arriving on site to save time.
Train your team on consistency. If you employ multiple Monteure, ensure they all use the same checklist format and understand what "moderate soiling" or "mesh displacement" means. Consistency makes year-on-year comparisons meaningful.
Archive completed checklists systematically. Store signed checklists in a per-customer folder (digital or physical) with commissioning documentation, warranty certificates, and panel datasheets. If a warranty claim arises five years later, you need immediate access.
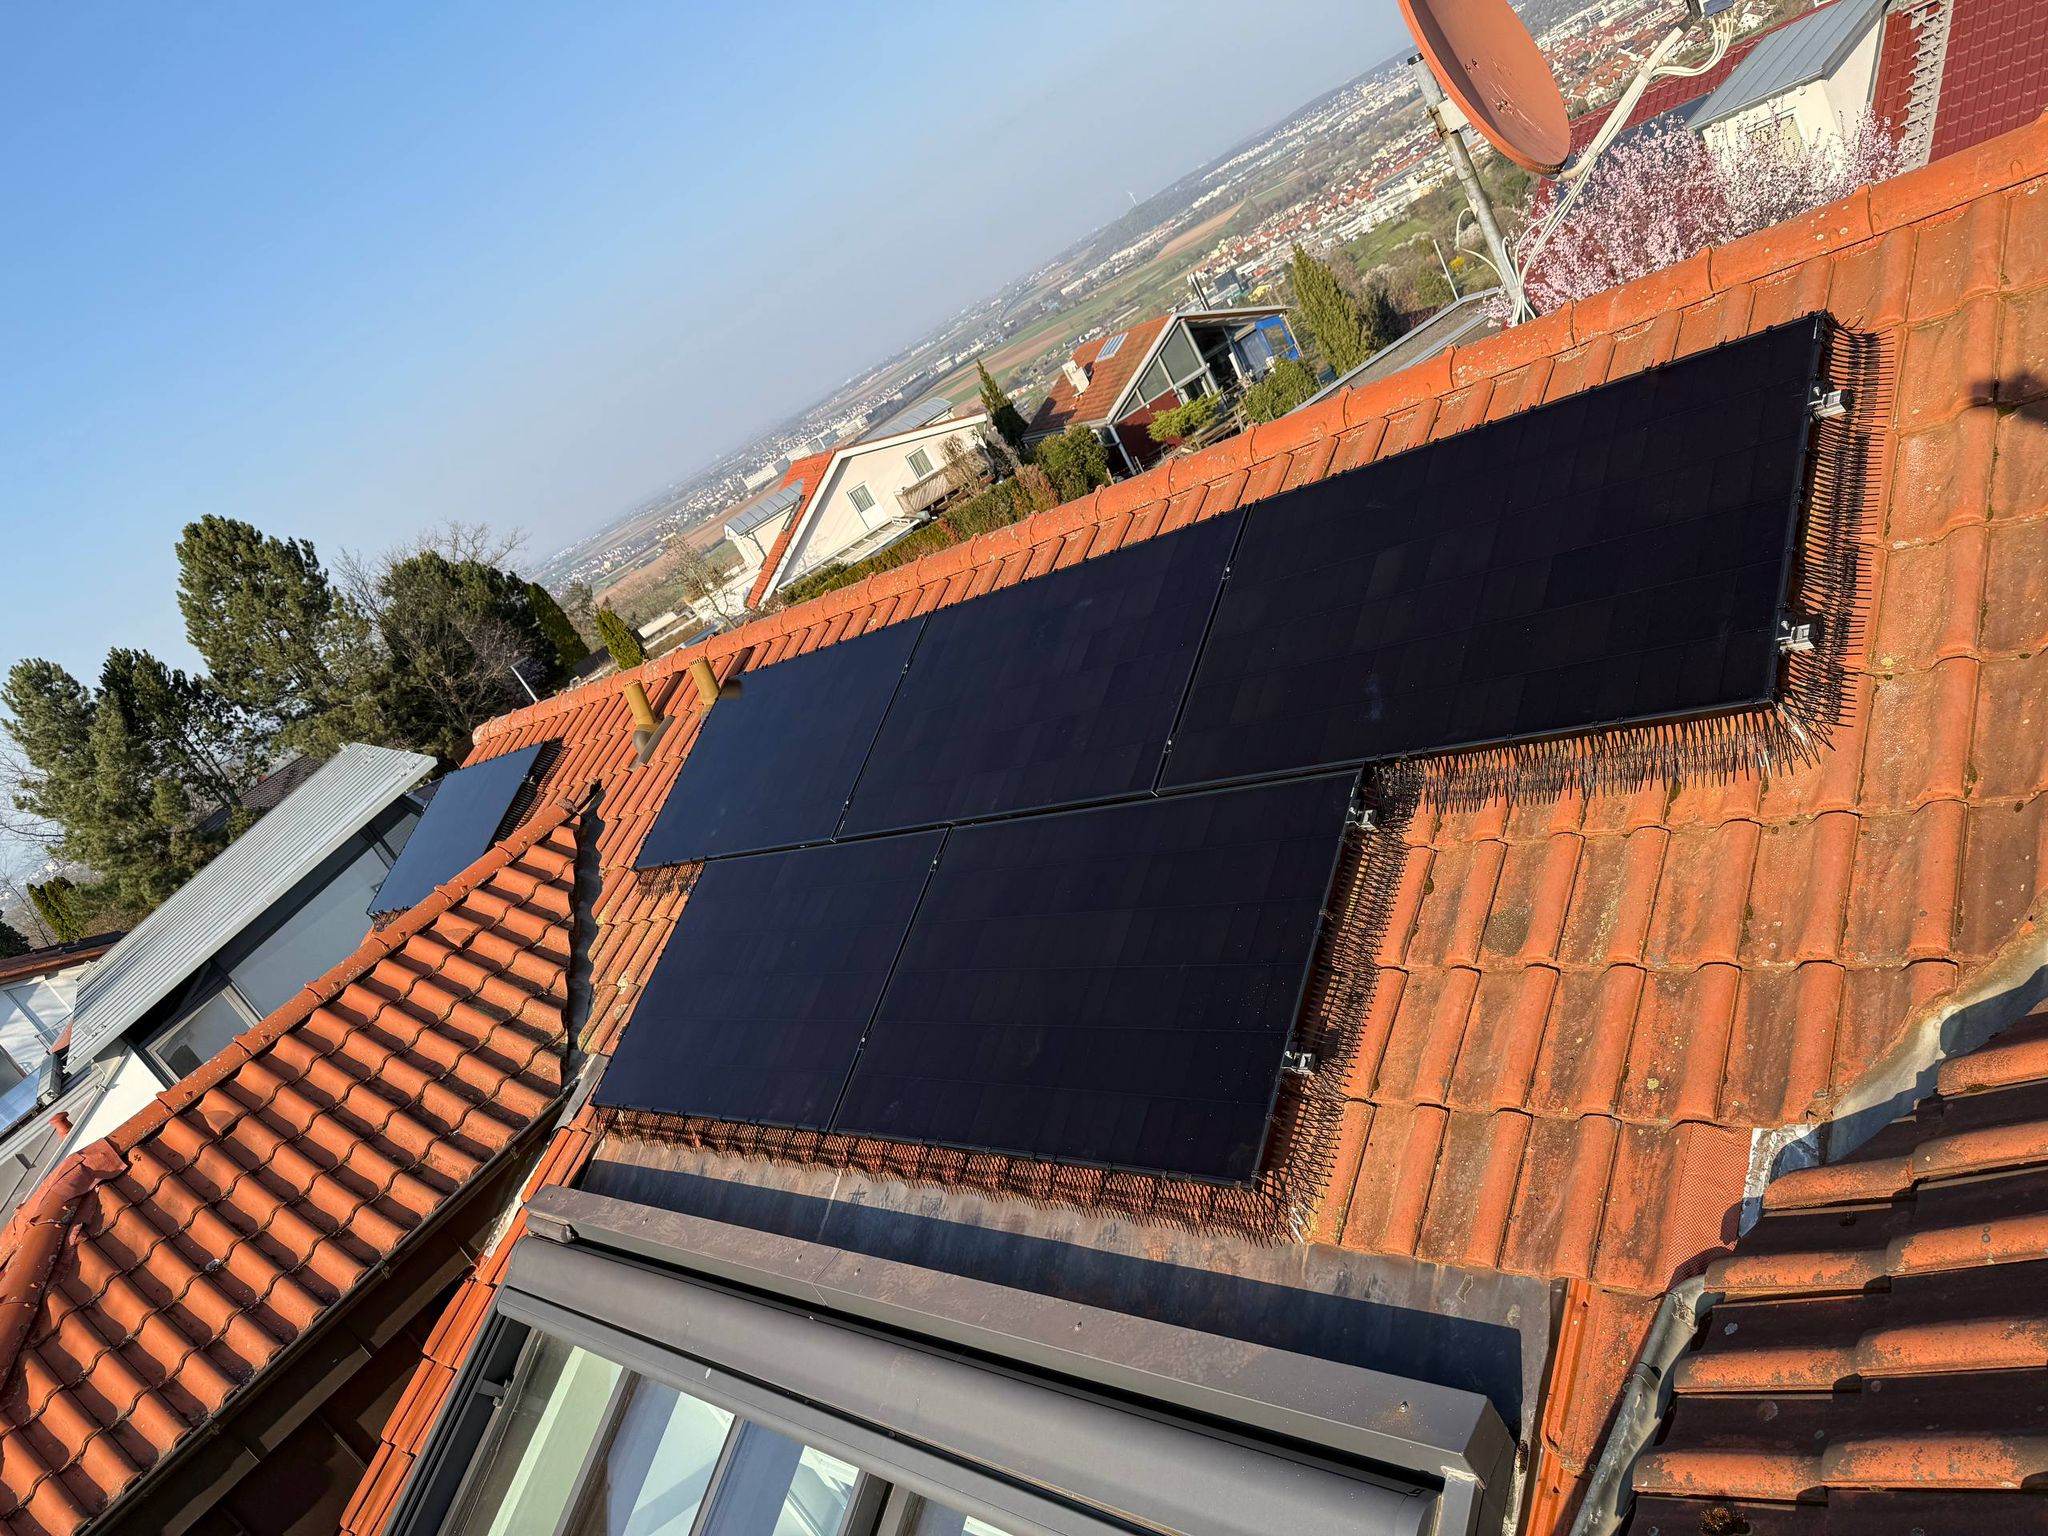
Integrating Bird Protection into Your Maintenance Workflow
Bird activity is one of the most common causes of solar panel performance degradation on pitched-roof residential and small-commercial systems. Including bird protection verification in your standard checklist accomplishes two things:
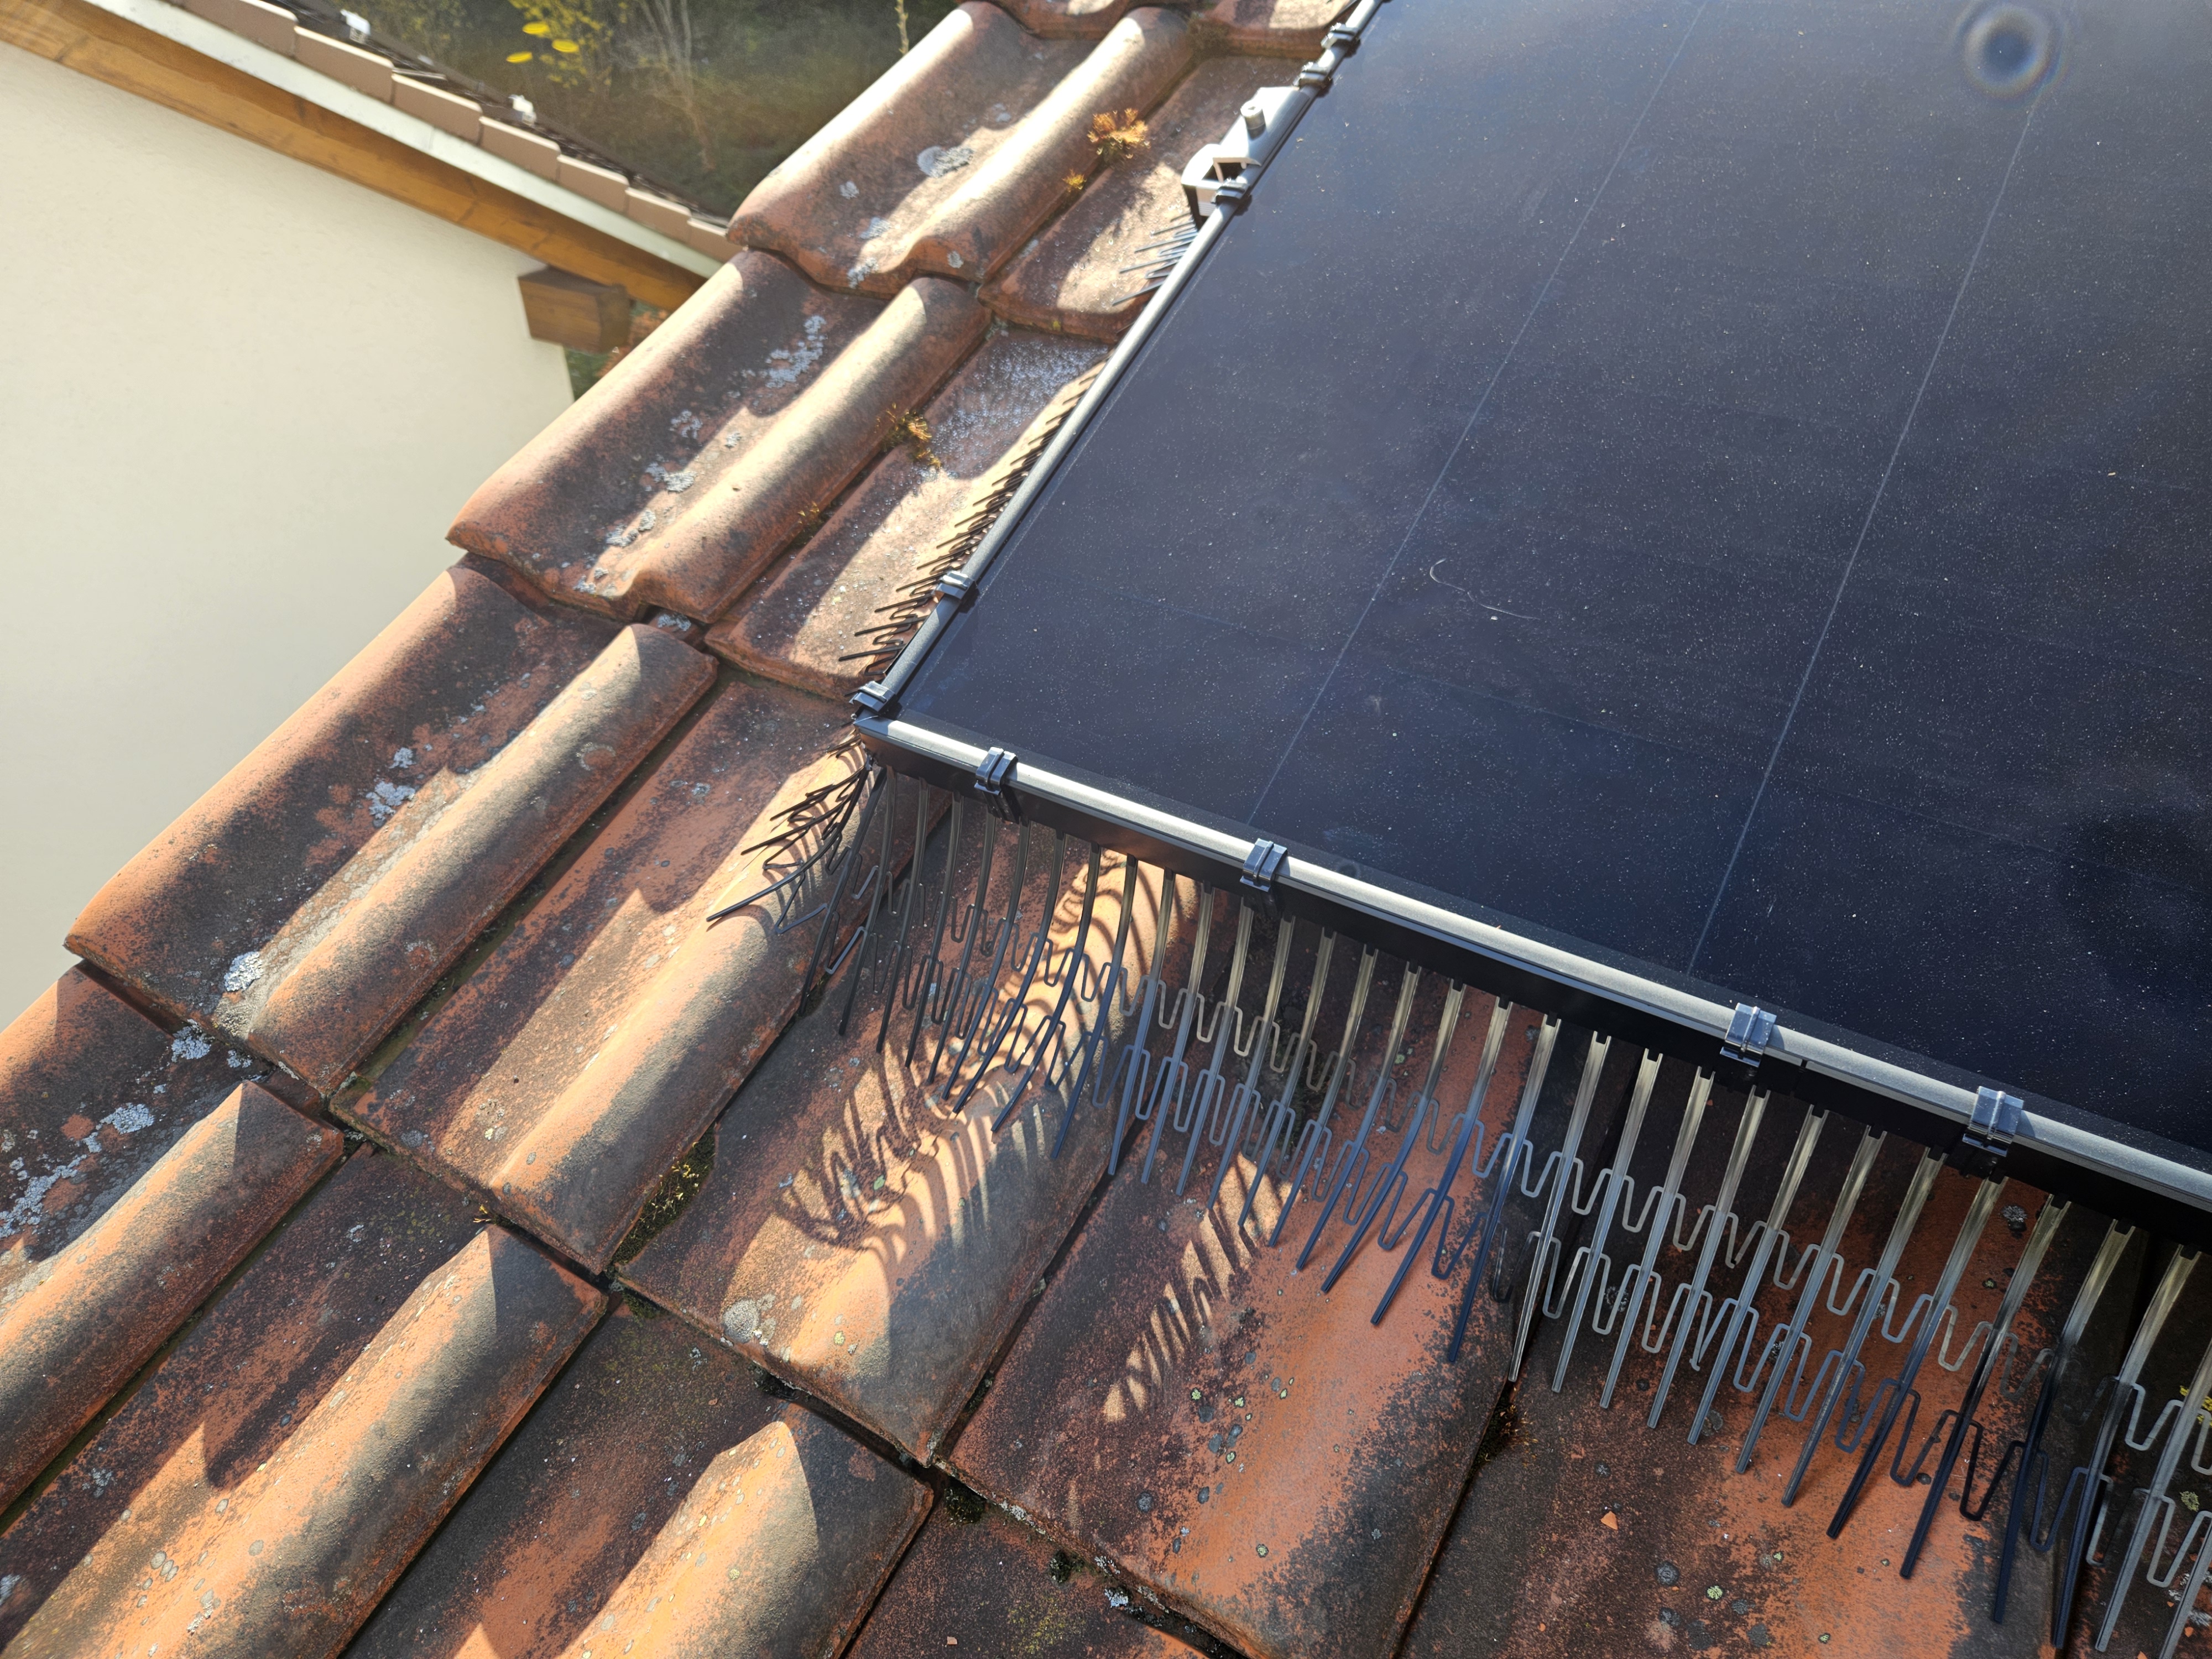
Early detection. Even if bird protection was installed at commissioning, it can degrade over time — UV exposure weakens cable ties, mesh segments can lift due to thermal cycling, and strong winds can displace poorly secured sections. Annual inspection catches these issues before birds establish nesting.
Retrofit opportunity identification. If a system was installed without bird protection and you discover droppings, nesting debris, or cable abrasion during your annual inspection, this is the moment to recommend retrofit installation. Documenting the problem in your checklist makes the case to the customer and supports the upsell.
For comprehensive guidance on identifying bird-related damage during inspections, see our field guide to identifying bird damage during PV system inspection.
Template Variations for Different Contract Types
Not all O&M contracts are the same. Adapt your checklist depth to match the service agreement:

Basic annual inspection (homeowner contracts): focus on visual checks, performance verification, and safety. 15-20 minutes per array.
Comprehensive O&M (commercial contracts): include detailed electrical testing, thermal imaging if available, detailed soiling quantification, and full documentation of all findings. 45-60 minutes per 50 kWp.
Post-callback diagnostic (troubleshooting visit): use the checklist as a starting point but add specific fault-finding sections relevant to the reported problem (e.g., inverter fault codes, string imbalance, localised shading).
For more on determining optimal inspection frequency, refer to our guide on how often solar panels should be inspected.
Common Mistakes to Avoid
Even experienced installers make documentation errors that undermine the value of a maintenance checklist.
Incomplete baseline data. If you don't record the commissioning-day performance and roof condition, you have nothing to compare future inspections against. Always complete the baseline section in full.
Vague descriptions. Writing "some dirt on panels" or "cables okay" is useless for tracking trends. Be specific: "light dust accumulation, no shading effect" or "DC cables show no abrasion at frame contact points."
Skipping the customer signature. Without customer acknowledgement, your documentation has no legal weight if a dispute arises. Always obtain a signature.
Failing to follow up on findings. If your checklist notes "mesh displacement observed at western edge," but no corrective action is taken and the next year's inspection shows nesting, the checklist becomes evidence of negligence rather than diligence. Document findings and act on them.
Turning Maintenance Logs into Business Intelligence
After several years of systematic inspections, your accumulated checklists become valuable business data.
Identify recurring failure modes. If you notice that a particular panel brand consistently shows junction-box failures at year three, or that systems installed on south-facing roofs in a specific district always develop heavy soiling, you can adjust your installation practices and customer communication.
Benchmark your own efficiency. Track how long inspections take per kWp. If your team averages 30 minutes per residential array but a competitor offers 20-minute inspections, either your checklist is too detailed (and your pricing reflects that), or you need to streamline.
Demonstrate ROI on bird protection. Compare O&M costs and callback frequency between protected and unprotected arrays. Installers who systematically track this data report that protected systems require 50-70% less cleaning and generate zero bird-related callbacks. This data supports your recommendation to include bird protection as a standard line item in every new installation quote.
For broader context on how maintenance practices affect system economics, see our analysis of solar O&M cost benchmarking and the financial case for bird protection.
Start Documenting Every Inspection
A solar panel maintenance checklist template is not bureaucracy — it's professional infrastructure. It protects your warranty claims, reduces callbacks, improves customer trust, and turns reactive troubleshooting into proactive system management.
Download a blank template, adapt it to your business, train your team to use it consistently, and maintain systematic records. Over time, your archive of completed checklists becomes one of the most valuable assets your installation business owns.
For a complete overview of professional maintenance best practices, explore our comprehensive PV system maintenance guide — the pillar resource for installers building systematic O&M workflows.

Comments