
Solar Panel Overheating: Why the Air Gap Under Your Modules Matters
Every summer the same conversation happens. The sun is relentless, the roof is glorious, and the monitoring app shows a system producing less than it did on a cooler, cloudier day in May. Most owners shrug and blame the heat. They are half right. Heat does cost output, and no product on the market changes physics. But a meaningful share of the heat sitting in a rooftop array is not weather — it is trapped air, in a gap of a few centimetres that nobody has looked into since commissioning day.
Everything below assumes a pitched roof with a defined lower module edge, because that is what PV Protector® is engineered for. Flat-roof ballasted systems, ground-mount arrays and open-field PV behave differently thermally and are outside the scope of this article.
What Actually Drives Solar Panel Overheating
Two separate things multiply together to produce solar panel overheating, and owners usually only think about the first.
The first is the physics of the cell. Silicon loses power as it gets hotter. PVEducation's reference on the effect of temperature on solar cells puts the drop in maximum power output at roughly 0.4% to 0.5% per °C for silicon. Your own modules have a specific figure for this — it is printed on the datasheet as the temperature coefficient of Pmax, and modern modules are typically better than the generic cell-level number. Look it up once; it is the multiplier that turns degrees into lost kilowatt-hours.
The second is the temperature the module actually reaches, which is not the air temperature and is not fixed by the weather alone. A module in 30 °C ambient air is not a 30 °C module. It is absorbing sunlight, converting a fraction of it, and shedding the rest as heat through its front glass and its back sheet. How well it sheds heat out of the back depends entirely on whether air can move there.
That second factor is the one you can influence. It is also the one that quietly degrades over the years while nobody is watching.
The Air Gap Behind the Modules Is Not Decoration
Mounting rails do more than hold modules down. They hold modules up — away from the roof covering — so that warm air can rise out from behind the array and cooler air can be drawn in at the lower edge. It is a chimney, and it works because it is open at both ends.
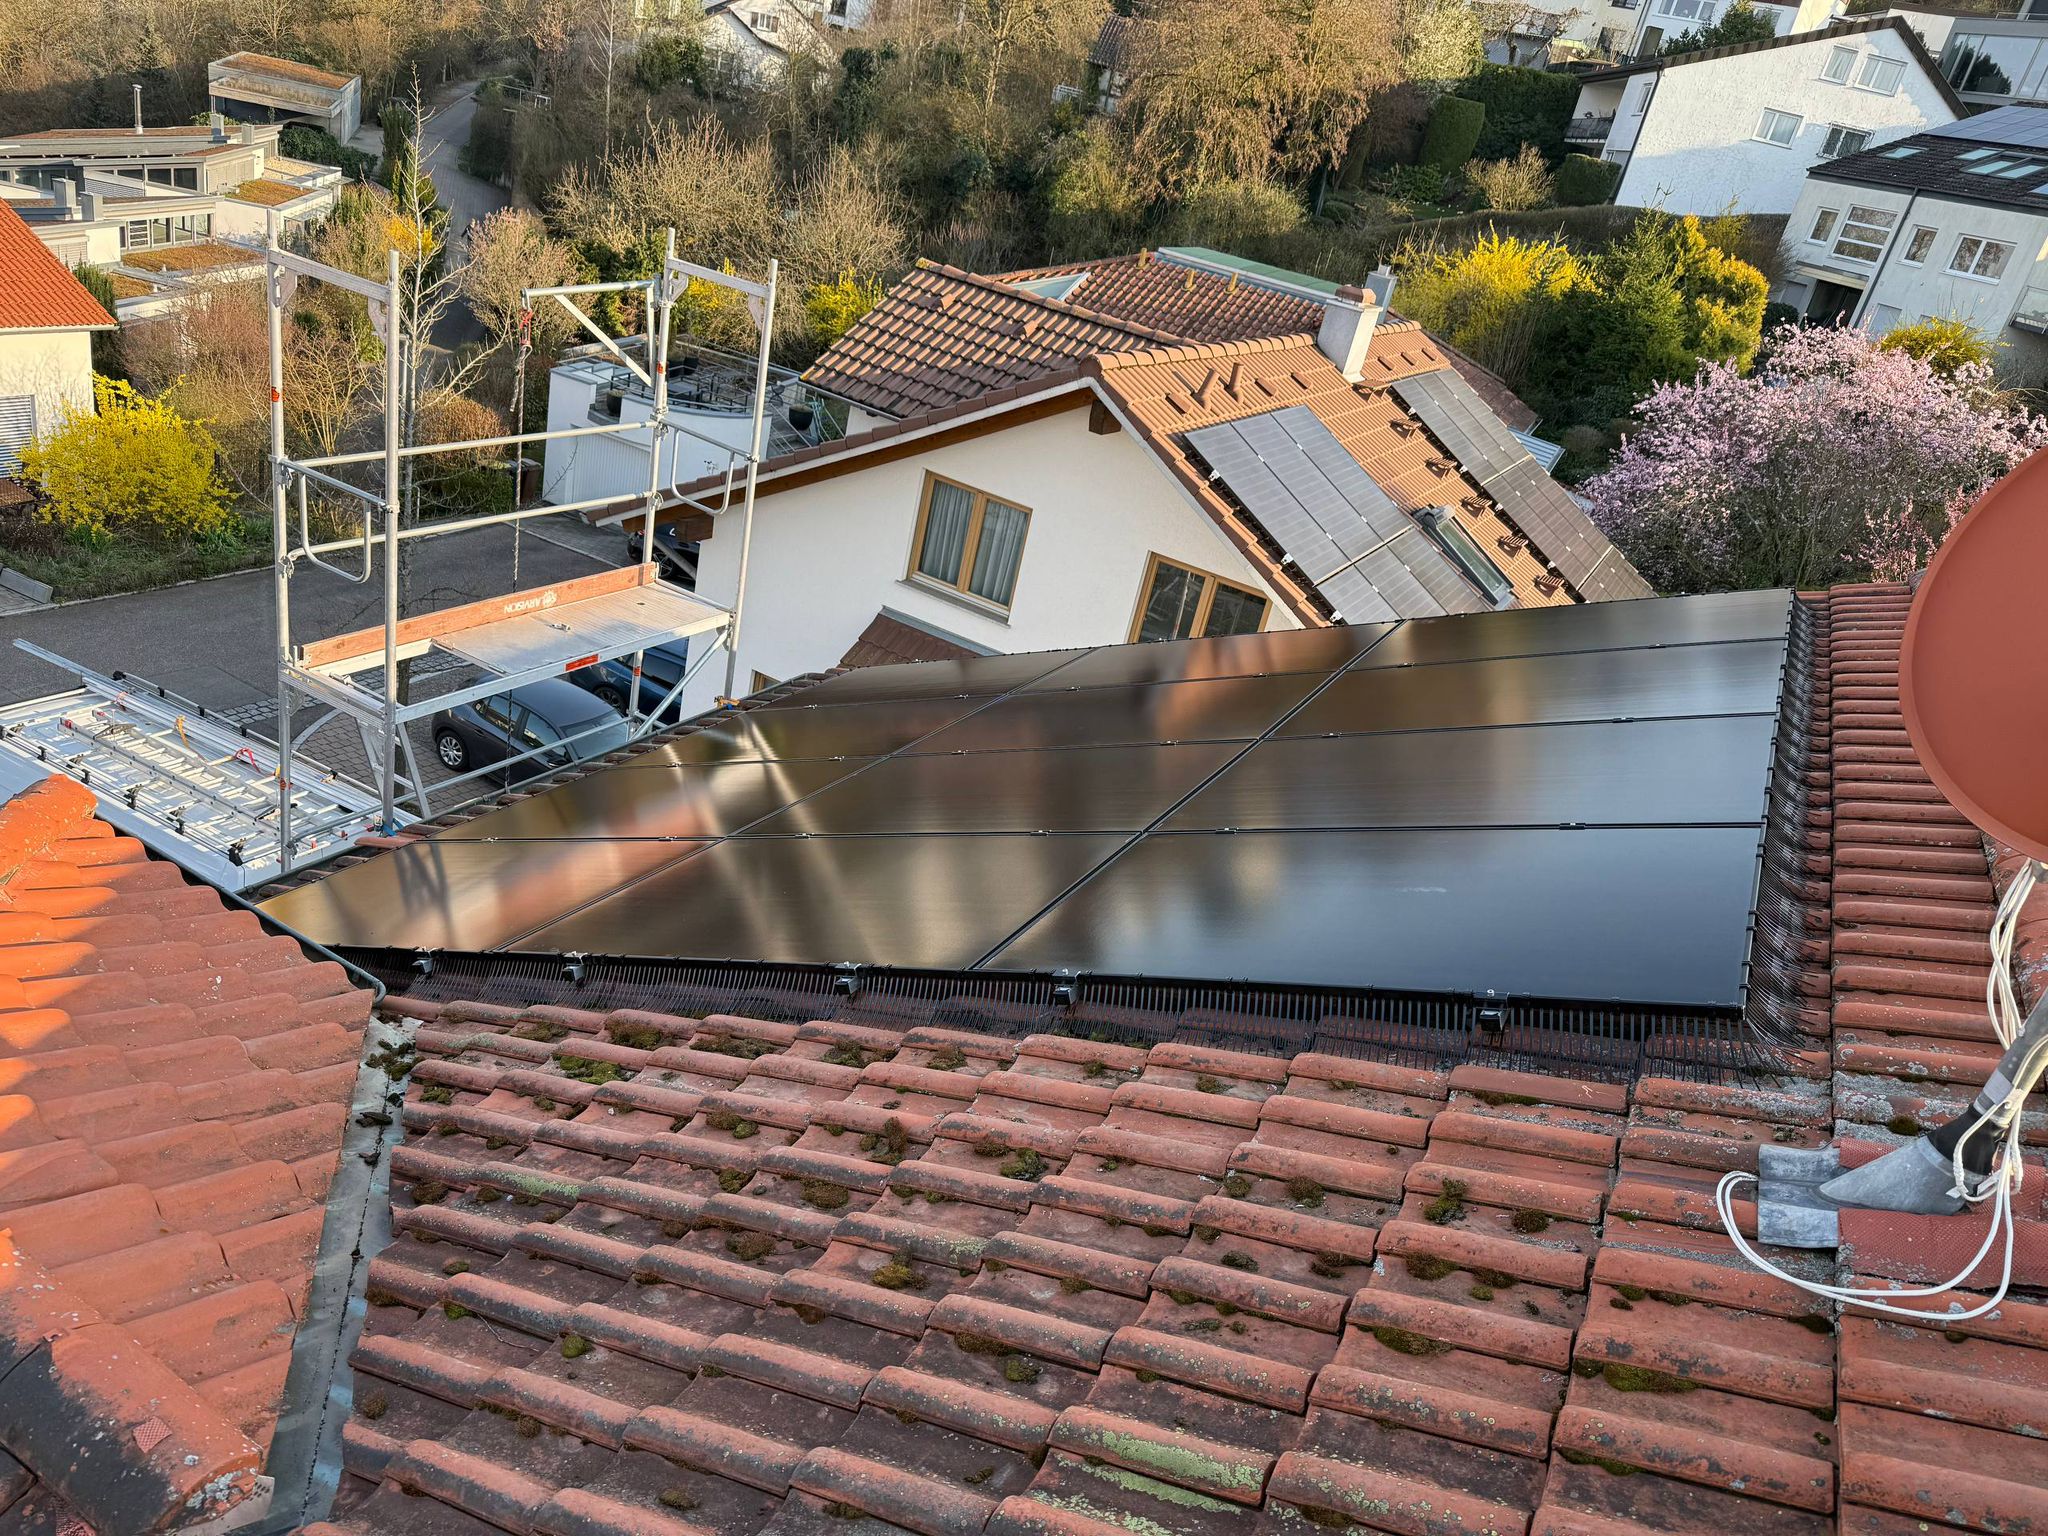
How much this matters is not a matter of opinion. Sandia National Laboratories' widely used module temperature model estimates module temperature from irradiance, ambient temperature and wind speed using empirically fitted coefficients — and it publishes a different coefficient pair for each mounting configuration. For a glass/cell/glass module the model uses a = −3.47 and b = −0.0594 for an open rack, but a = −2.98 and b = −0.0471 for a close roof mount.
Apply those published coefficients at 1000 W/m² irradiance and 1 m/s wind and the model puts the open-rack module roughly 29 °C above ambient and the close-roof-mounted one roughly 48 °C above ambient. Two points are worth being precise about. First, that is a model output describing whole mounting classes, not a measurement taken on anyone's roof. Second, it is not a claim about bird nests. What it does show, from an authoritative and publicly documented source, is that how freely air moves behind a module is a first-order variable in how hot that module runs — on the same day, under the same sun.
Where a Bird Nest Fits Into That Picture
A nest is not built in a random place. Birds choose the warm, sheltered, wind-protected cavity under the lower edge of an array precisely because it is warm, sheltered and wind-protected — which is another way of saying they choose the exact volume the mounting system created for airflow.
The direction of the effect is not in dispute. Nesting material, feathers and accumulated droppings occupy the rear air gap, and anything occupying that gap reduces the air movement the array was designed around. What nobody can honestly give you is a number. There is no published measurement of "a nest raises module temperature by X °C", because the answer depends on how much material is packed in, where, how large the array is, how steep the roof is and what the wind does that afternoon. Anyone quoting you a precise figure for that is guessing.
What you can reason about is where the effect concentrates. Blockage is rarely uniform. One or two modules directly above a well-established nest sit over an obstructed cavity while the rest of the array breathes normally, which is a recipe for a localised warm patch rather than an even, system-wide drop. That is also why a single string underperforming its neighbours is worth investigating rather than dismissing. Our overview of how birds block ventilation under solar modules covers the mechanism in more detail, and the same cavity collects leaves, grit and other debris even on roofs with no bird activity at all.
Removing a Nest Is a Legal Question Before It Is a Maintenance Job
This is the part that surprises owners, and it is the reason "just get up there and clear it out" is bad advice.
At EU level, Directive 2009/147/EC, the Birds Directive, establishes a general system of protection for naturally occurring wild bird species, including prohibitions on deliberately destroying or damaging nests and eggs. Every member state transposes that into national law. In Germany, for example, § 44 BNatSchG prohibits damaging or destroying the breeding and resting sites of specially protected species and disturbing them during breeding, rearing, moulting, wintering and migration periods.
In practice that turns one question into three. Is the nest occupied? What species built it — and can you actually tell from a ladder? And what does the competent local authority say, given that the answer varies by country and, in several markets, by region or canton?
The workable rule for a system owner is simple. An empty cavity is a maintenance decision. An occupied nest is a legal one, and the safe answer is to wait for the season to end and to confirm with the local nature-conservation or environmental authority before anything is touched. Rescheduling a half-day job costs very little. Getting the species wrong costs considerably more.
Clearing the Gap Once, Then Keeping It Clear
Clearing a cavity restores airflow. It does not stop the cavity being attractive. Birds return to sites that worked, and an array cleared in September with nothing else changed is an array available again in March. That is the loop most owners get stuck in — and each turn of it means another access cost, another summer of degraded ventilation, and another legal timing question.
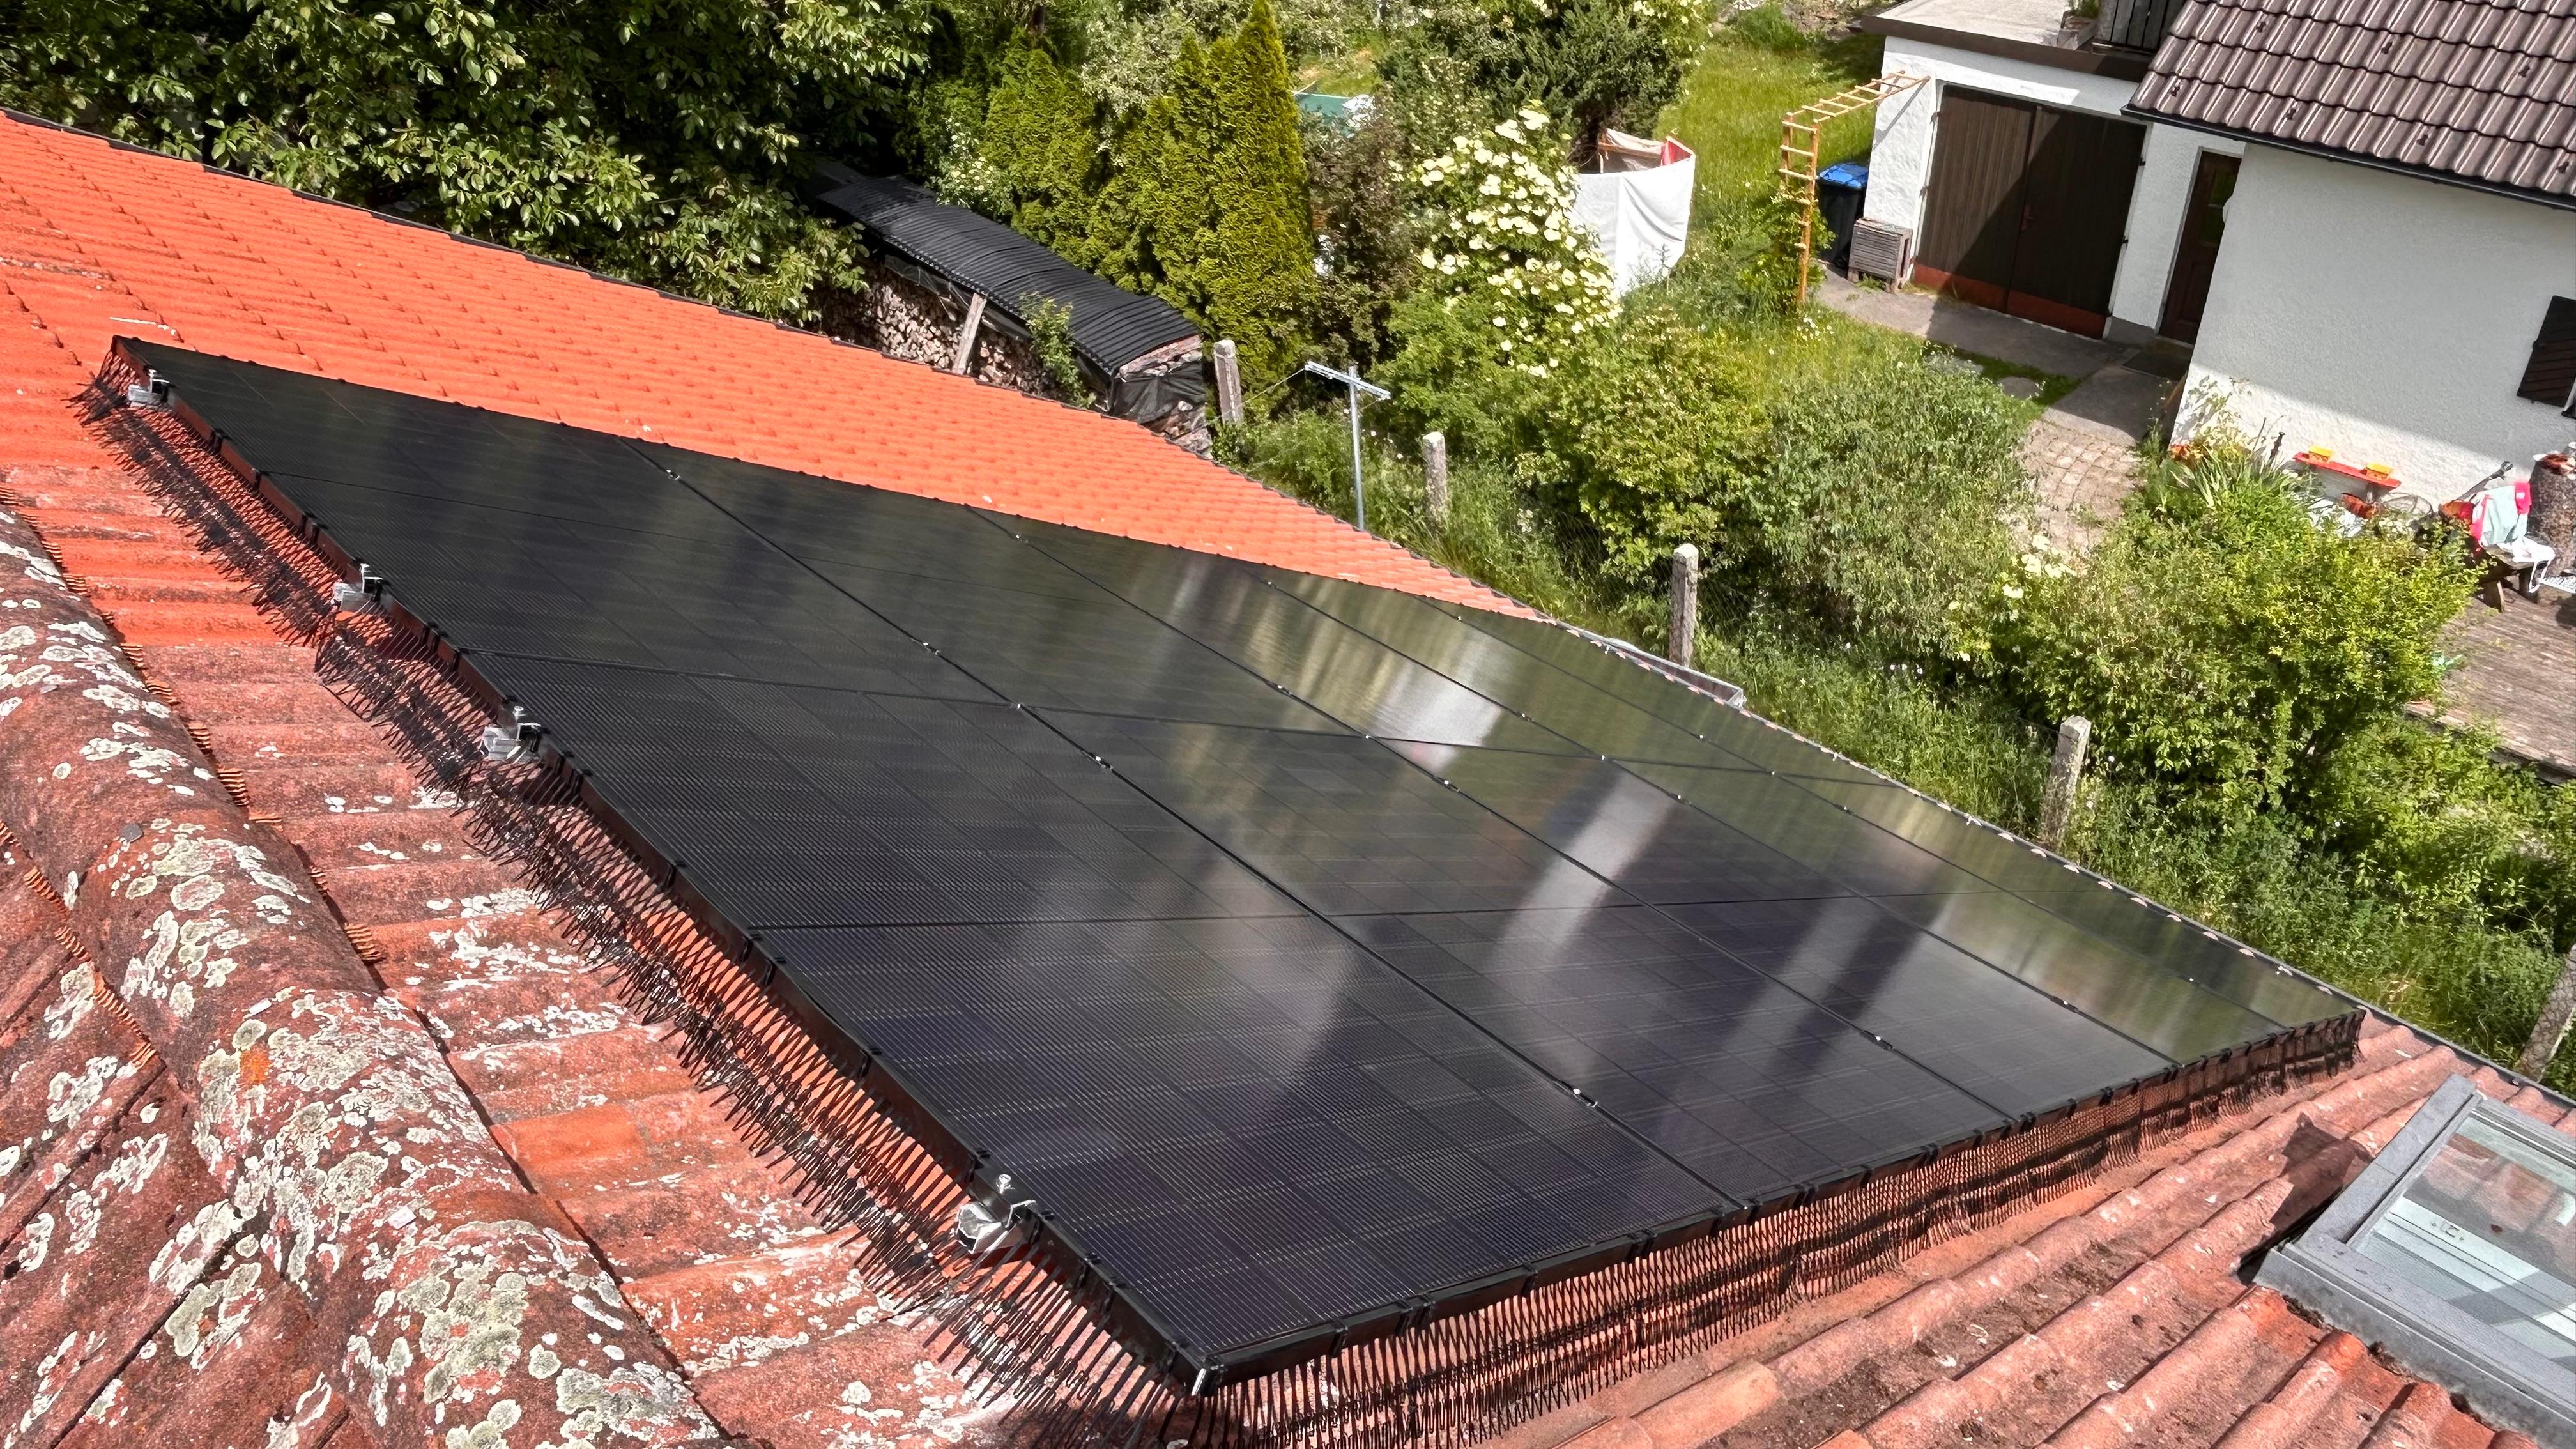
Closing the perimeter permanently is what ends the cycle. PV Protector® does that with three engineered components. The Perimeter Segments are made of HDPE with UV stabilisers 944 and 622 and close the open edge beneath the modules; they come in two heights, 150 mm (Standard) and 200 mm (Extended). The C-Clips, moulded from UV-stabilised PC+ABS, snap those Segments onto module frames of 30, 35 and 40 mm — tool-free, with nothing drilled into the frame and therefore no questions raised about the module warranty. UV-stabilised PA66 Cable Ties secure the run. The system carries a 10-year warranty per the manufacturer specification and is designed exclusively for pitched roofs with a defined lower module edge.
The design intent matters here as much as the material list. The barrier closes the perimeter against birds while the array's ventilation path stays a ventilation path — the point is to keep the cavity empty, not to seal it shut.
What an Owner Can Check Without Going on the Roof
Most of the useful diagnostic work happens at ground level or on a laptop.
- Compare like with like in your monitoring data. Put a bright August day next to a bright August day from a previous year rather than comparing August to May. A year-on-year gap on comparable irradiance is more informative than a seasonal one. - Look for one string lagging the others. A uniform summer dip is weather. A single string consistently below its neighbours points at something local — shading, soiling, or an obstructed cavity above a nest. - Photograph the eaves from the ground. A phone at full zoom, or a pair of binoculars, will show nesting material, droppings and feathers at the lower module edge without anyone climbing anything. - Watch the roofline at dawn. Repeated arrivals and departures at the same point of the array edge is the clearest sign that the cavity is occupied rather than merely dirty. - Book a thermographic check if the data stays odd. An infrared inspection finds warm areas that monitoring alone only hints at, and it is the right tool when a specific part of the array is suspect. - Plan the intervention around the season, not the invoice. The window for clearing and closing the perimeter is set by the local breeding calendar. Our year-round bird activity and maintenance guide sets out how that calendar maps onto planned maintenance.
Heat Is Physics, a Blocked Cavity Is a Choice
You cannot make August cooler and you cannot change your modules' temperature coefficient. What you can decide is whether the ventilation gap your mounting system paid for stays open or slowly fills with nesting material over a decade of quiet summers. One of those is weather. The other is maintenance — and it is the one that compounds, because every year the cavity is occupied is a year of both degraded airflow and a legal timing problem waiting to be rediscovered.
Survey the underside once, clear it at the right point in the season, and close the perimeter properly so the question does not come back.
To specify bird protection for a pitched-roof system — or to discuss installer and distributor conditions — talk to the PV Protector® team.
Comments